How-To & Tutorials
Screenshot Redaction That Survives: Why the Black Box Hides Nothing
☰ Table of Contents
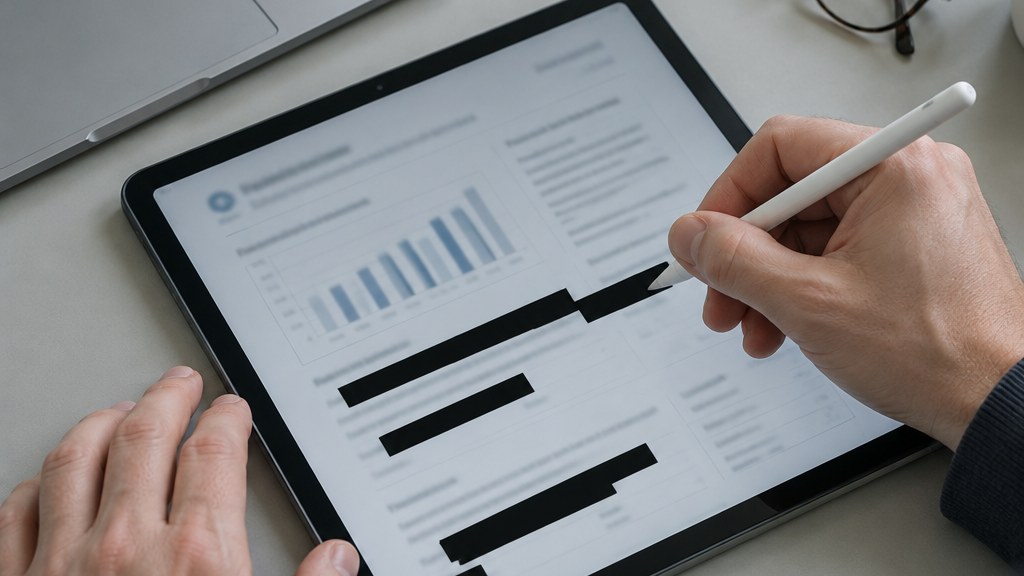
You needed to show a client one dashboard number, or send a developer a screenshot of an error before the app opens. So you took a screenshot, dragged black rectangles over the client names, the balance, the internal note, and sent it. The sensitive parts are covered. Nobody can see them.
Except everybody can. Screenshot redaction fails more often than it works, and it fails quietly: the file still looks perfectly censored in the chat window. This guide is about the failure modes, the methods that hold, and the half-minute check that catches a mistake before it reaches someone who should not have it.
The Black Box That Hides Nothing
A screenshot is a flat picture, so a shape drawn over it feels final. But most of the ways people “redact” a screenshot never touch the underlying pixels. They add something on top:
- a rectangle annotation in a preview app,
- a black cell with a white font inside a spreadsheet,
- a comment or overlay in a PDF viewer,
- a blurred or pixelated effect applied as a non-destructive layer.
In each case the original image or text is still there, underneath, recoverable in seconds. Move the annotation in Preview, remove the layer in Photoshop, change the cell fill colour in Excel, or run one more copy-and-paste, and the hidden content comes straight back. That is not redaction. It is a sticker.
Real redaction is destructive: the sensitive pixels are replaced everywhere and the original no longer exists in the file. That distinction is the whole article. Everything below follows from it.
Four Ways Screenshot Redaction Fails Silently
Before the fix, the failure modes. These four account for nearly every leak we have seen, in freelancer portfolios, support tickets and vendor RFPs:
- Selectable text underneath. In PDFs and some screenshot editors, the black rectangle sits above a live text layer. Anyone can select the region, copy, and paste the contents into a notes app. Search inside the document also still finds it.
- Overlay layers in image editors. A black shape on a separate layer is reversible. Export with layers intact, or hand someone the editable file, and the “redaction” is one click away.
- Blur and pixelation instead of solid fill. A heavy Gaussian blur applied to account numbers has been shown repeatedly to be reconstructible with modest guessing, especially for short strings drawn from a small alphabet like digits. Pixelation is worse: real characters get encoded in repeated block patterns.
- Leaked surroundings. You covered the card number but left the last four digits in a toast notification in the corner, the email address in the browser tab, the file name in the window title, or the customer name in the URL bar. The secret was rarely just in the box you drew.
What Each Layer of a Screenshot Leaks
A screenshot is not one object. It is usually a few layers stacked, and each leaks in a different way. Here is what to inspect per layer:
| Layer | What it can reveal | How to check it |
|---|---|---|
| Image pixels | The visible content, plus anything a blur only obscured | Zoom to 300–400% on the covered area; any ghost of letters means the fill was translucent |
| Text layer (PDF, some exports) | Live, selectable characters under the black box | Select the region, copy, paste into a plain text editor |
| Annotations and comments | Editable shapes, notes, author names in the properties panel | Flatten or print-to-image; check document properties for your own name |
| Metadata | Device model, software, sometimes GPS, original timestamps | Strip metadata, or re-save through an app that does not carry EXIF |
| Context in frame | Tab titles, notification previews, URL paths, sidebars, autofill dropdowns | Crop the frame before you draw anything |
| File name and thumbnails | Client name, project code, and a preview of the unredacted original | Rename the file; check the folder thumbnail and any share-sheet preview |
Most people check only the first row. The leak almost always comes from rows two through six, because the top layer looks convincing.
The Flattening Rule
If you remember one rule from this page, make it this: redaction ends with a flattened image or a rasterised PDF, never with an editable file.
Flattening means the document no longer contains separate objects. There is no text behind the box, no layer to toggle, no annotation to delete. In practice that means one of these:
- Screenshot the redaction itself. Cover the sensitive parts, then take a new screenshot of the result and share that new file. Crude, free, and genuinely effective, because the output is a single flat raster.
- Print to image. In a PDF viewer, print to a PDF printer with “print as image” enabled, or export to PNG. The output loses its text layer.
- Burn the fill in an image editor. Draw a solid opaque rectangle, then flatten the layers and export as PNG or a high-quality JPEG before sending.
- Use a real redaction tool that removes the underlying text rather than covering it. Our guide to verifying PDF redaction walks through the checks that prove it worked.
One habit makes all of this faster: crop first, redact second, flatten third, verify fourth. Cropping removes categories of trouble (tabs, notifications, sidebars) that no rectangle can fix.
Which Method to Use for Which Job
Different situations, different tolerances. A screenshot for a public support forum has to be airtight; a screenshot for two colleagues on the same account can be lighter. This table keeps the choice honest:
| Method | Good for | Fails when |
|---|---|---|
| Solid opaque rectangle, flattened | Almost everything: chat, support, client updates | You forget to flatten, or you use 90% opacity so the text ghosts through |
| Re-screenshot after covering | Quick phone workflows, no tools installed | You leave the original in the camera roll and send the wrong file |
| True redaction in a PDF editor | Contracts, statements, anything with a text layer | You use the “highlight” or “comment” tool by mistake |
| Blur or pixelate | Distant background faces or plates, at strongest settings | You apply it to short numeric strings, which are guessable |
| Black cell fill in a spreadsheet | Nothing external. Internal screen-sharing only | The moment the file is sent, since the value is one click from view |
If you regularly send screenshots of the same kind of screen, build one preset: crop box, fill colour, flatten, export. Two minutes of setup saves every future argument about whether the client’s name was visible.
Metadata and Accidental Context
Everything visible can be clean and the file can still talk. Screenshots usually carry less metadata than camera photos, but not none: the software that produced them, sometimes the device or OS, and the creation time in your local timezone. A screenshot taken at 02:40 and shared from a “9 to 5” agency account is its own small problem.
The bigger leak is context you did not think of as content:
- Browser tabs with client project names, unread counts, or a competitor’s dashboard title.
- Notification banners in the corner of a phone screenshot, which often show message text.
- The URL path, which can contain a customer id or an internal ticket number.
- Autofill dropdowns, spell-check underlines on names, and “recently opened” lists in a sidebar.
- The file name itself, which you then paste into a chat where it appears in full.
None of that requires a sophisticated adversary. It requires a person who reads the whole image, which is exactly what a vendor or a new client does when they are trying to understand your message. When you pass files to clients, the workflow in our safer file sharing handoff pairs well with the redaction pass described here.
The 60-Second Verification Pass
Verification is not a feeling of confidence. It is four mechanical checks on the final file, not the working copy:
- Select and copy. Try to select the redacted region and paste into a plain text editor. Anything that appears is still live.
- Zoom in. At 400%, a correct fill stays a flat block of colour. Greyish character shapes mean the overlay was translucent or the blur was weak.
- Search the file. If it is a PDF, search for the exact name or number you hid. A hit means the text layer survived.
- Look outside the box. Scan the corners, tabs, sidebars and title bar, and read the file name. Assume a stranger is reading it for clues.
Run those four on the file you are about to send, and you have closed the gap between “looks redacted” and “is redacted.” It costs less than a minute and it is the difference between a routine share and an incident report.
A Pre-Send Routine You Will Actually Follow
Latitude matters more than willpower. Make the safe path the short path, and it survives a busy Friday:
- Crop the frame first. Remove tabs, notifications, sidebars and the title bar before covering anything.
- Use one solid fill colour at full opacity. Not a blur, not a grey semi-transparent box, not a comment layer.
- Flatten immediately. Re-screenshot the result or export a PNG, then work only with that new file.
- Rename with intent. A neutral name like
dashboard-update-nov.pnginstead ofacme-corp-invoice-error.png. - Run the four checks on the outgoing file and delete the unflattened working copy from your downloads folder. Old editable files are how a cleaned screenshot turns back into the original six months later.
If you handle client material regularly, treat this the way you treat any other delivery step. It belongs in the same checklist as your review pass and your file naming, not in a mental note you might forget. Browsing the rest of our how-to and tutorial library is a decent way to find the neighbouring habits: handling client data with AI tools and revoking access during client offboarding both come from the same principle of doing the safe thing before the file leaves your machine.
The uncomfortable truth is that leaked screenshots are rarely caused by an attacker with clever tools. They are caused by a black rectangle that was never a redaction in the first place, shared by someone in a hurry. Fix the method and the mistake becomes hard to make.
FAQ
Is a black box over a screenshot enough redaction?
Only if it is burned into the pixels and the underlying content is gone. A box drawn as an annotation, overlay layer or spreadsheet fill is removable, so the hidden content is still in the file.
Can a blurred screenshot be unblurred?
Short strings like account numbers or PINs can often be reconstructed from a blurred image, and pixelation is generally weaker than a heavy blur. Use a solid opaque fill for anything that matters.
Does taking a new screenshot of a redacted screenshot really work?
Yes, and it is underrated. The new file is a single flat raster with no text layer and no editable objects, which is exactly what you want. Just make sure the original never travels with it.
What about screenshots I send to clients as part of a deliverable?
Same rules, plus a naming step. Crop, fill, flatten, rename, verify. If the client may forward the file to a third party, assume the worst case and redact accordingly.
Do screenshots contain GPS data?
Rarely, since they are generated on the device rather than captured by a camera, but metadata varies by platform and app. Stripping metadata before sending costs nothing and removes the question.
How long should verification take?
Under a minute for a normal screenshot: select and copy, zoom to 400%, search the file for what you hid, then scan the corners and file name. Put it in the same step as attaching the file.